Photo realistic renderings play an important role for architectural modelers as well as for their clients. Not only it helps in convincing your leads but also creates the repo of your modelers and your firms.
Photo realistic renderings need attention to minute details and careful planning. You may find it time-consuming but it impacts a lot on the realism of the rendering.
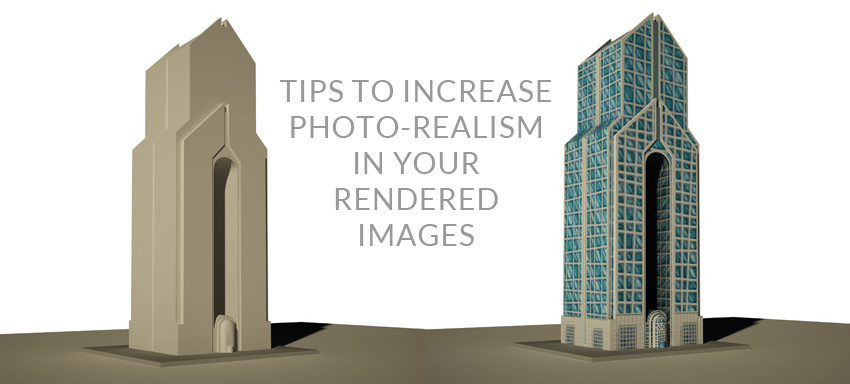
To help you improve your 3D rendering, here are a few tips for creating photo-realistic rendered images. Some of these techniques are oftentimes overlooked or skipped by amateurs, yet every one of them is essential and valuable methods in creating professionally lit scenes.
1. Use Specular Maps
Specular maps tell which parts of your model ought to have high specularity and which ought to be more dispersed. Utilizing specular maps leads to realism to the photo rendering.
Surfaces and materials are a vital stage in making authenticity at work. Good surfaces make the model more expressive, terrible one annihilate even the most flawless geometry.
2. Use a Linear Workflow
A straight work process is a way to deal with the whole procedure of getting texture maps, picking, lighting, rendering, surface hues and compositing, permitting software calculations to keep up an immediate, uniform connection between advanced coloring values and genuine light intensities.
The pictures that you input, for example, surface maps and background pictures are not linear; they consist built-in gamma correction.
Without a linear work process, photo rendering and compositing programs work with this data as though it were direct, and afterward, they yield an outcome that is not gamma adjusted.
In case your result is not gamma corrected, this result can be mistaken for a scene that is quite under-lit.
3. Bevel Optimizing
It’s a good idea to begin your lighting to bevel everything. Beveling brings out detail and offers the authenticity to your model by permitting edges to appropriately catch highlights from your lighting arrangement.
Construct thicker geometry in your architecture as opposed to utilizing infinitely thin surfaces. In real houses, walls have a thickness, so should be in yours too. Giving walls a reasonable thickness, so that it is more similar to a shape than a plane, anticipates light leaks.
Thus, use of the bevel (or chamfer tool in 3ds Max) is one of the principal things you ought to learn as a modeler.
4. IES Light Profiles for realism
3D artists, particularly those working in the architectural field, have started using IES light profiles to copy authentic lighting more reasonably.
IES Light profiles fundamentally transform point lights into the spotlights (outwardly) and utilizing an IES profile on a spotlight will work an indistinguishable path from on a point light with the exception of the spotlight cones will cover the IES profile impact.
IES light profiles contain precise photometric data with respect to luminance, light shape, and fall off that creates realism in photo rendering.
5. Deactivate Symmetry
Sometimes, there is nothing better than to turn on symmetry. This implies that designers need to do a large portion of the work and they never need to stress over the other half.
So, in specific cases, it’s a smart thought to deactivate symmetry and add few asymmetric variance to your designs.
As a result, asymmetry will make photo rendering more realistic and you’ll wind up with a more dynamic and fruitful outcome.
6. Blurred Background
Use the depth of field by isolating the scene arranged into closer view, background, and in-focus pictures. The foreground and background pictures are then blurred by the qualities set in the depth of field parameters and hence, the resulted picture is composed.
Keep just a little segment of the picture in focus while removing other out of focus by adjusting the depth of field in a photograph. This is an extraordinary approach to highlight particular part of a picture
It can be applied by using Photoshop’s Lens Blur available in Photoshop CS or Depth effects can be calculated at rendering time from within your 3D package.
7. Chromatic Aberration
Chromatic aberration also called as “color fringing”, is a typical optical problem. They are bright glow outlines on the hard edges of your high complexity pictures.
Chromatic aberration happens when the diverse color wavelengths of light (red, green, and blue) are centered onto unique spots around your camera’s sensor.
Hence, you can expel some Chromatic aberration through numerous ways in Photoshop, go from simple built-in sliders to more propelled procedures using custom layers and brushes.
Also, keep in mind to use Chromatic aberration subtly as overdoing of the effect will damage the photo-realism in your rendered images.
To get our Rendering Services and free draft of your file click here.